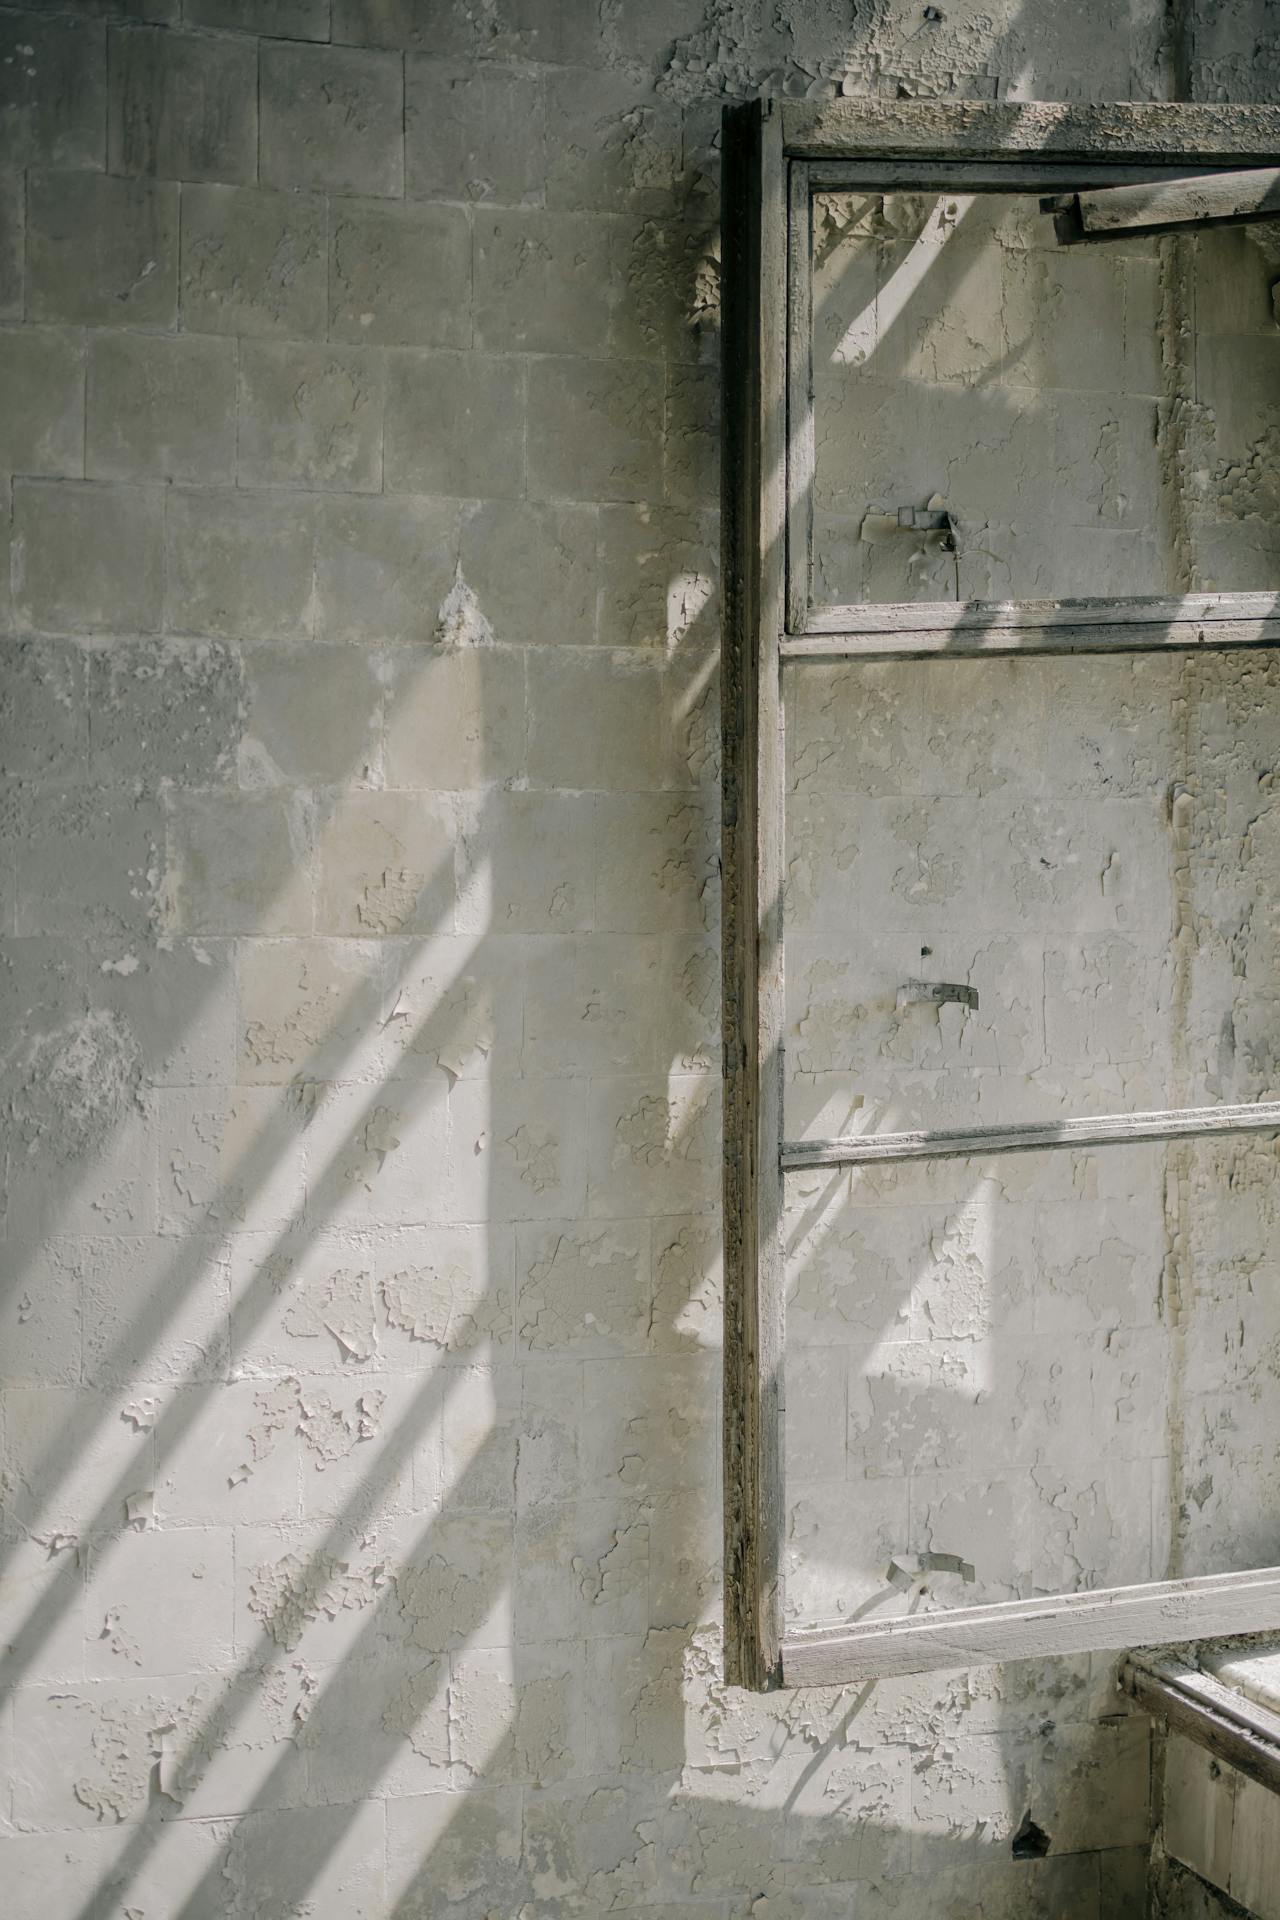
Nobody loves dealing with smoke, but it’s still something we have to do after our home was damaged by fire. Painting over the damage caused by smoke can seem like the hardest thing in the world, especially if large portions of your walls and ceilings have been damaged, but this is definitely a project you can complete on your own if you get organized properly. Making a detailed plan and knowing what to do is key, and it’s always better to react immediately instead of waiting for the situation to get worse. So, if this kind of accident happened in your home too, here are a few steps you need to take in order to make things right.
Start by Dry Cleaning
This is the first step you need to take in order to neutralize the damage caused by smoke and fire, but it’s one of those things that most people find strange at first. Most of us think that cleaning with a wet cloth and a sponge is the way to go, but dry-cleaning everything first is more important than you can imagine. This will help you remove most of the stains, as well as all that soot left after the accident.
What you need to get is a dry-cleaning sponge as that’s the most effective tool for cleaning your walls and your ceiling, no matter how simple and humble it appears. The best thing about these sponges is that they’re usually completely free of chemicals, which is great for keeping your living space healthy. Using straight overlapping strokes, wipe your walls and your ceiling, removing as much debris as you can, and only after doing that can you move on with the rest of your cleaning process.
Now, It’s Time for Wet Cleaning
After you’ve dry-cleaned your walls and your ceiling, and removed all your debris and leftover soot, it’s time to start wet-cleaning everything and actually making a visible difference. Again, you’re going to need some sponges, but also make sure you have some extra cloths too, as well as your protective clothing and gear that won’t harm your health nor put you in danger of breathing in hazardous chemicals.
When it comes to the most effective cleaning products, most people use those Phosphate-based heavy-duty cleaners that come in powder form and are the best way to remove stains. Just mix some of that powder with warm water, and apply the mixture on your walls and ceilings with a sponge, repeating the same cleaning method you used while dry-cleaning your damaged area. In the end, clean the surface with clean water, and let it dry completely.
Move on to Priming
Before you can actually apply a new coat of paint on your walls and ceilings, you need to cover it with primer first. Of course, you have to make sure there are no more stains on your surfaces first, because repainting makes no sense if those stains remain visible. When it comes to applying the primer, this is one of the easiest things in the world – you just need to make sure you’ve covered all the stains, leaving nothing but clean surface behind, and you’re good to go.
This is something even a layperson can do, so don’t be afraid if you have no previous experience applying primers and painting walls. Just make sure you’ve applied enough of it to prevent these nasty stains appearing again, but keep in mind that primers usually have a strong odor. That’s why you need to keep your windows open, and, if you’re doing this in the kitchen, turn on your powerful fire duct too, as that’s the only way to remove all the smells from your immediate surroundings before you get dizzy.
Finally, You Can Paint over the Stains
Once you’ve thoroughly cleaned all the damaged surfaces and prepared them for painting, it’s time to actually apply a new coat of paint and forget all about the fire that occurred in your home. However, while this is probably the easiest part of the entire project and something you’ll be able to do in your sleep, you still need to invest some time and energy into it.
The biggest dilemma people have is whether to paint over just the surfaces that were damaged, or the entire room. There’s no right or wrong here, so just assess the damage and see if covering just a small section of the wall is going to be enough. If you’re not satisfied with the results, just paint the rest of the room too, and that’s it.
One Response
Thank you, this was very helpful